
How to Deal with Peeling Paint on Interior Walls
Peeling paint on interior walls is easy to dismiss as a cosmetic problem. It rarely is. Paint that peels on a living room wall, bedroom ceiling, or hallway is almost always telling you something about what happened during the original paint job or what’s been happening to the wall since. Painting over it without addressing the underlying cause produces a result that peels again, often faster the second time. This post covers why interior paint peels, how to assess how serious the problem is, what proper repair involves, and how to prevent it from coming back.
Why Paint Peels on Interior Walls
Peeling has a cause in almost every case. The most common ones on general interior walls — rooms other than bathrooms or kitchens where moisture is the primary driver — fall into a few distinct categories.
Poor surface preparation is the most common cause by a significant margin. Paint needs a clean, sound surface to bond to. Walls that were painted without cleaning, without sanding glossy surfaces, or without removing loose or flaking paint from previous coats give the new paint nowhere to grip. The result is a film that adheres temporarily and then begins separating as the wall expands and contracts through seasonal temperature changes.
Incompatible paint layers cause a specific type of failure. Applying water-based latex paint directly over an oil-based finish without proper priming creates an adhesion conflict — the two products don’t bond well, and the new coat eventually separates in sheets. This is common in older homes where oil-based paints were standard and subsequent owners have repainted with latex without knowing what was underneath.
The same compatibility issue that causes peeling on walls applies to trim and molding, where trim and molding painting over incompatible previous coats produces the same adhesion failures.
Skipped or inadequate primer is another frequent contributor. Primer is what creates the bond between the wall surface and the topcoat. On new drywall, bare plaster, repaired areas, or previously glossy surfaces, paint applied without primer has no mechanical grip on the wall. It may look fine initially and peel within a season.
Painting under poor conditions — extreme humidity, cold temperatures, or directly in the path of forced air vents — interferes with the drying and curing process. Paint that cures incorrectly never develops full adhesion strength and is more vulnerable to peeling as the surface ages.
How to Tell How Serious the Problem Is
Not all peeling is the same severity and the repair approach depends on how deep and how widespread the problem is.
Surface-level flaking where small chips lift away but the paint beneath is still sound is the most minor form. The paint film has aged or was applied over a marginally glossy surface — the adhesion failure is limited to the top layer and doesn’t involve the wall surface itself.
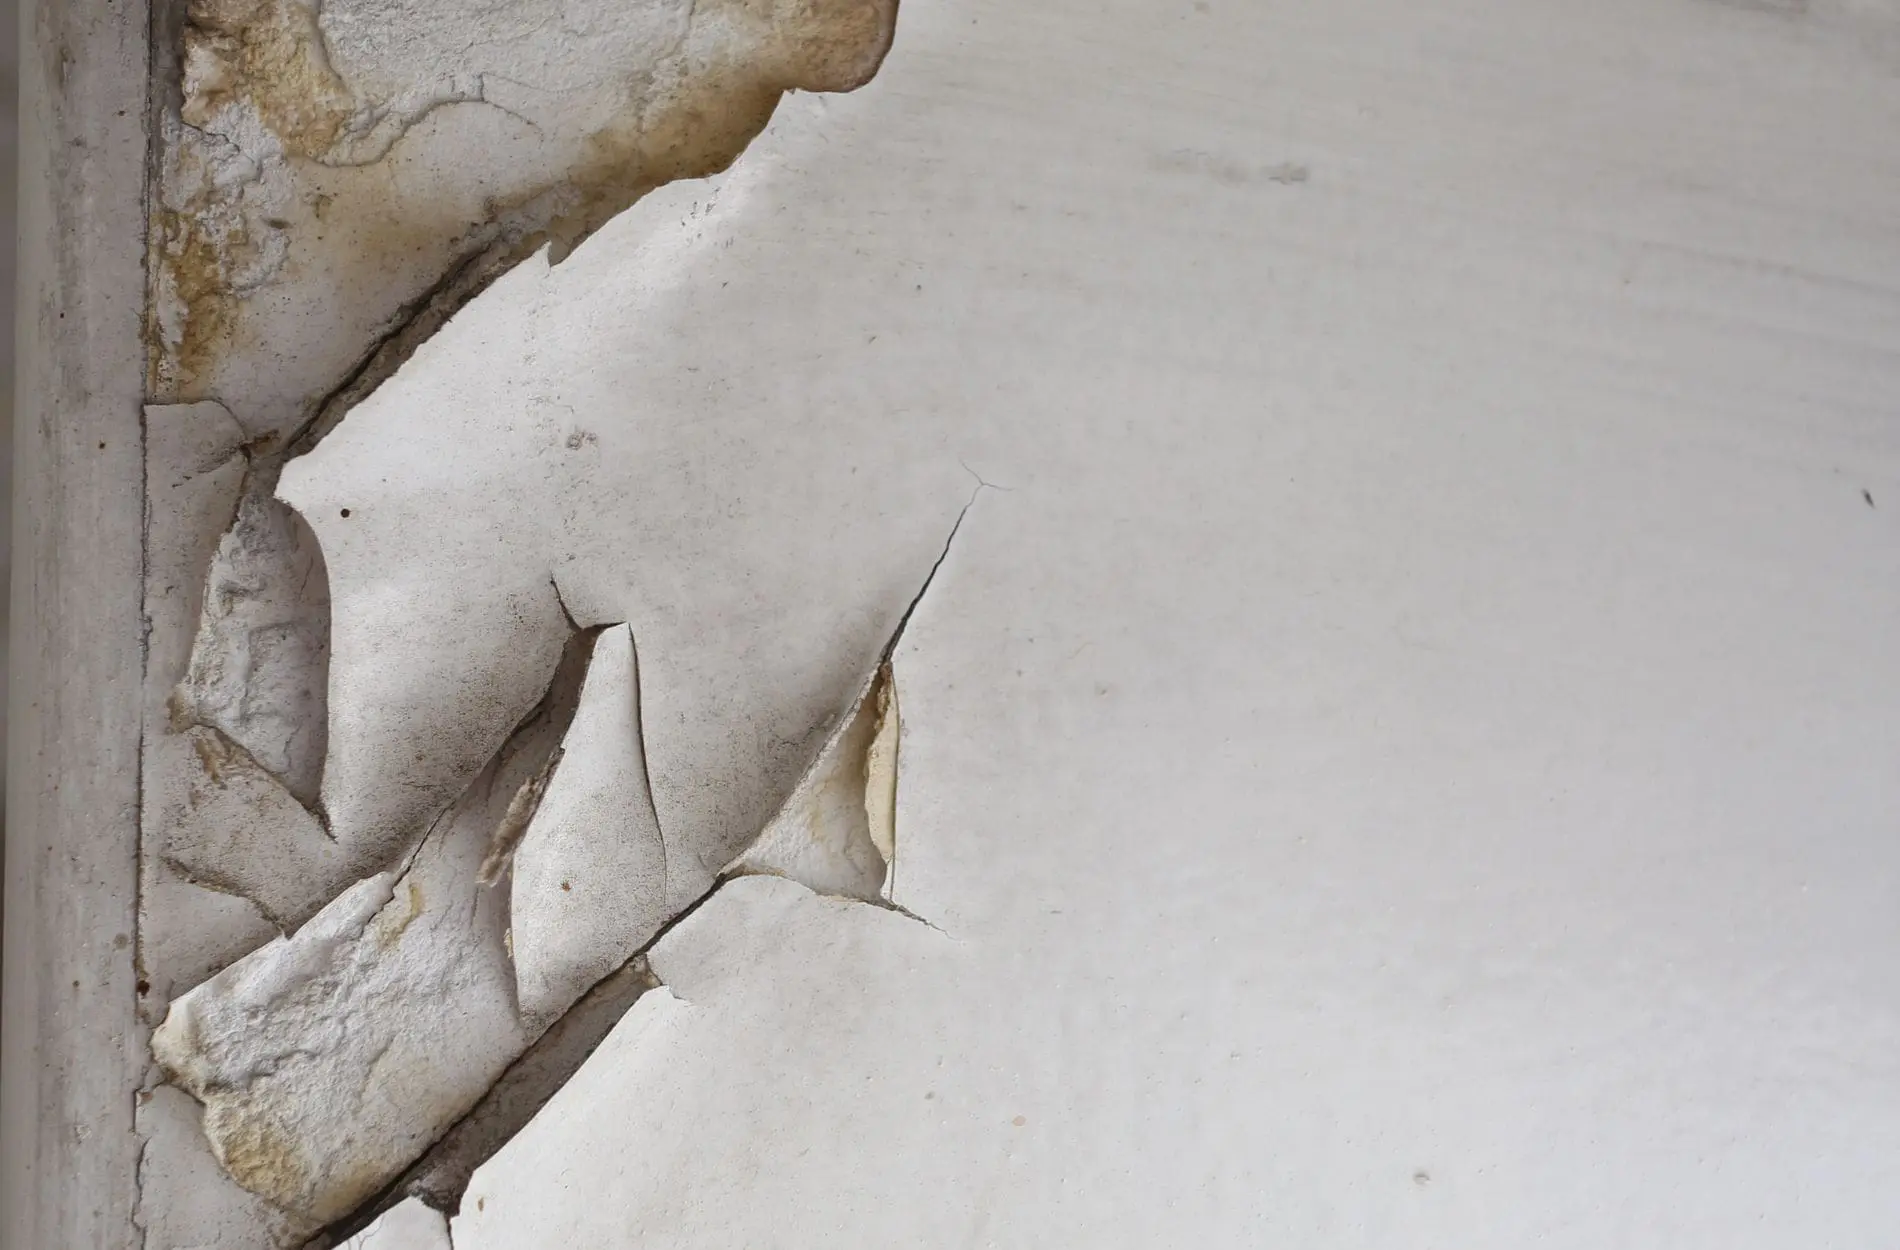
Larger sheets lifting away from the wall, particularly if the paint pulls away cleanly in sections, typically indicates an incompatibility problem between paint layers or a complete absence of primer on that surface. The failure is at the bond between two paint layers rather than at the wall.
Paint lifting that takes drywall paper or plaster with it is the most serious type. This means moisture has reached the substrate at some point and compromised the wall surface itself. The underlying material needs to be addressed before any repainting happens — painting over damaged drywall paper or soft plaster produces a result that continues to fail regardless of the quality of the topcoat.
Checking the area around the peeling is useful. Soft or spongy drywall, staining that bleeds through from behind, or a musty smell near the affected area points to a moisture source that needs to be found and resolved before the surface is repaired.
What Proper Repair Actually Involves
Scraping and repainting over a peeling area without addressing the cause is the most common repair mistake. It looks fine for a while and then peels again, often taking more of the surrounding paint with it the second time.
Proper repair follows a specific sequence:
- Remove all loose and peeling paint from the affected area. A paint scraper and wire brush get the loose material off. Sanding feathers the edges where intact paint meets the scraped area so there’s no visible ridge in the finished surface.
- Address any underlying issues before touching primer or paint. If the wall surface is damaged, repair it first. Damaged drywall paper needs to be skim-coated or the panel replaced depending on the extent. Soft or crumbling plaster needs to be cut out and patched with an appropriate compound.
- Prime the repaired area with the right primer for the surface and the situation. On bare drywall or plaster, a PVA primer seals the porous surface. On areas where the previous paint was oil-based, a bonding primer creates the adhesion bridge that prevents the compatibility failure from recurring. On water-stained areas, a stain-blocking primer prevents the stain from bleeding through the new coat. Water stains on ceilings follow the same principle — addressing water stains before painting requires the same stain-blocking primer step before any finish coat will hold.
- Apply the finish coat in thin, even layers. Thick coats dry unevenly and are more prone to future peeling at edges and intersections with the surrounding wall.
Surface-Specific Considerations for Interior Walls
Different interior surfaces peel for slightly different reasons and respond better to different repair approaches.
Drywall is the most common interior surface and the most sensitive to moisture. Even minor water intrusion — a slow pipe leak, a spill that wasn’t dried properly, or condensation from a window — can damage the paper facing and cause the paint to lift. Drywall repairs need to be fully cured and primed before any topcoat goes on. Rushing this step results in the repair showing through the paint as a dull, flat spot.
Plaster walls common in older Schaumburg homes are denser and more stable than drywall but develop hairline cracks over time as the plaster settles and shifts. Paint applied over unrepaired cracks eventually follows the crack movement and peels along the crack line. Filling cracks with a flexible patching compound before painting prevents the topcoat from cracking and lifting in the same pattern.
Previously painted surfaces with multiple paint layers are particularly prone to adhesion failures when the layers aren’t compatible or when one of the earlier coats was poorly bonded. If a wall has been painted many times over the years without proper prep between coats, the entire paint system can become unstable. In those situations, a full strip back to the wall surface before repainting produces a more durable long-term result than adding another layer on top of an already compromised stack.
Ceilings peel for the same reasons as walls but gravity makes the failure more dramatic — loose paint falls rather than hanging in flaps. Ceiling peeling near light fixtures or HVAC vents is often related to temperature and humidity differentials in those areas rather than the overall room conditions.
When Spot Repair Is Enough and When It Isn’t
Spot repair is appropriate when the peeling is isolated to a small area, the surrounding paint is sound and well-bonded, and the cause has been identified and resolved. A single area near a window where moisture condensation caused a localized failure can be repaired effectively without repainting the entire room.
Full room repainting makes more sense when:
- Peeling is occurring in multiple locations across the same room, which usually indicates a preparation or compatibility problem that affects the entire painted surface
- The existing paint is old enough that the adhesion across the whole surface is compromised even where peeling hasn’t started yet
- The color or sheen of the repaired area won’t match the surrounding paint well enough to be invisible — fresh paint over aged paint rarely matches perfectly even with the same product
- The walls show other signs of age beyond the peeling itself, such as significant fading, staining, or surface roughness that a spot repair won’t address
How to Prevent Interior Paint from Peeling Again
Prevention comes down to the same factors that cause peeling in the first place — preparation, primer, and conditions.
Practical steps that extend the life of interior paint:
- Clean walls before repainting. Dust, grease residue, and cleaning product buildup all interfere with adhesion. A deglossing cleaner on previously glossy surfaces gives the new paint something to grip.
- Sand glossy or semi-gloss surfaces before applying new paint. Gloss finish repels paint adhesion — a light sanding creates the mechanical profile the new coat needs.
- Use the right primer for the situation. Not all primers are interchangeable. Bonding primer for compatibility issues, PVA primer for new or repaired drywall, stain-blocking primer where staining is present.
- Avoid painting under extreme conditions. Interior paint performs best applied between 50°F and 85°F with moderate humidity. Painting in a cold room that hasn’t been heated or in a room with high humidity from recent weather extends cure time and reduces final adhesion strength.
- Allow adequate dry time between coats. The recoat window on the product label is a minimum, not a suggestion. Applying a second coat before the first has cured fully traps solvents and creates adhesion problems between layers.
Ready to Fix Peeling Paint in Your Schaumburg Home?
Peeling paint on interior walls is almost always fixable, but the repair needs to address the cause rather than just cover the symptom. Paint applied over a problem that hasn’t been resolved peels again. Understanding why it happened in the first place is what determines whether the next coat holds for a season or for a decade.
Damian’s Painting works with homeowners across Schaumburg and the surrounding area to assess peeling paint, address the underlying causes, and repaint interior surfaces properly. If you’re dealing with peeling walls and want to understand what the repair involves, contact us for a free estimate.