
A Guide to Ceiling Painting for a Perfect Finish
Ceiling painting might not always be the first thing that comes to mind when thinking about home decor, but it can make a big difference in transforming a room. A well-painted ceiling brightens up the space and ties the entire room together. It’s like putting the perfect hat on an outfit—everything just looks complete. People often overlook ceilings when planning their interior design. Yet, when done right, ceiling painting can enhance the room’s overall aesthetics and even alter perceptions of space. Tackling your ceiling with the right painting techniques can create an inviting ambience.
Consider the room where you spend most of your time, like the living room or kitchen. A fresh coat of paint on the ceiling there can lift the mood and rejuvenate the space. Whether you’re considering a classic white or an eye-catching color, the finish can bring about an entirely new feel and appeal to these common areas. The right color and texture can even make small rooms feel larger or give high rooms a cozy touch.
Preparing the Ceiling for Painting
To achieve that perfect finish, preparation is as important as the actual painting. Skipping steps here can lead to a less than satisfying outcome. The first step is always to clean the ceiling thoroughly. Dust and grime accumulate up there more than we notice, and painting over them might result in a streaky finish. Use a vacuum or a duster to remove surface dirt, and a mild soap solution can take out stubborn stains or grease.
Next, you’ll want to inspect the ceiling for any cracks or holes. Repairing these imperfections is crucial for a smooth painted surface. You can fill minor holes with some spackle, and don’t forget to sand the area afterward to ensure evenness. Fixing these spots takes a bit of patience, but it makes a huge difference in the final look.
Here’s a handy checklist for preparing your ceiling:
- Clean the ceiling with a duster or vacuum.
- Use a mild soap solution to remove stains.
- Inspect for and repair any cracks or holes.
- Use spackle to fill up imperfections and sand them smooth.
- Cover any fixtures or trim with painter’s tape.
Gather the right tools and materials before you start, such as drop cloths to protect floors, painter’s tape for clean edges, and a sturdy ladder. Preparation might seem tedious, but it’s time well spent. By starting with a clean and even surface, you’re setting the stage for a flawless, long-lasting paint finish. These steps ensure that by the time you pick up the brush, you’re ready to create a ceiling that truly enhances your space.
Choosing the Right Paint and Tools
Selecting the proper paint for your ceiling is an important step that can affect both the application process and the longevity of the look you’ve envisioned. There are several types of paint suitable for ceilings, including flat, eggshell, and satin finishes. Flat paint is often preferred for ceilings due to its ability to hide imperfections and its non-reflective nature. However, if you want a bit more sheen, eggshell or satin finishes might be more appealing.
When it comes to tools, choosing the right brushes and rollers can streamline the job and provide a smoother finish. Rollers with a thick nap are ideal for ceilings with texture, as they reach into nooks and crannies without leaving unpainted spots. For a smooth ceiling, you can opt for a medium nap roller, which offers good coverage without thickness. Don’t forget about the brushes—angled ones work great for cutting in near walls or around fixtures.
Selecting the right color is equally crucial. Lighter shades open up a space and lend an airy feel, while darker tones can create a sense of intimacy. Think about how the color will blend with the walls and the room’s natural light. Remember, repainting a ceiling isn’t something you’ll do often, so choose colors that you’ll be happy with for the long haul.
Painting Techniques for a Flawless Finish
To achieve that pristine ceiling, refining your painting technique is a game-changer. Start by cutting in around the room’s edges with a brush to create clean lines before using the roller. This step makes sure you cover areas that a roller might miss, like corners and the space around light fixtures. Painting edges first also helps prevent streak marks caused by roller overlap.
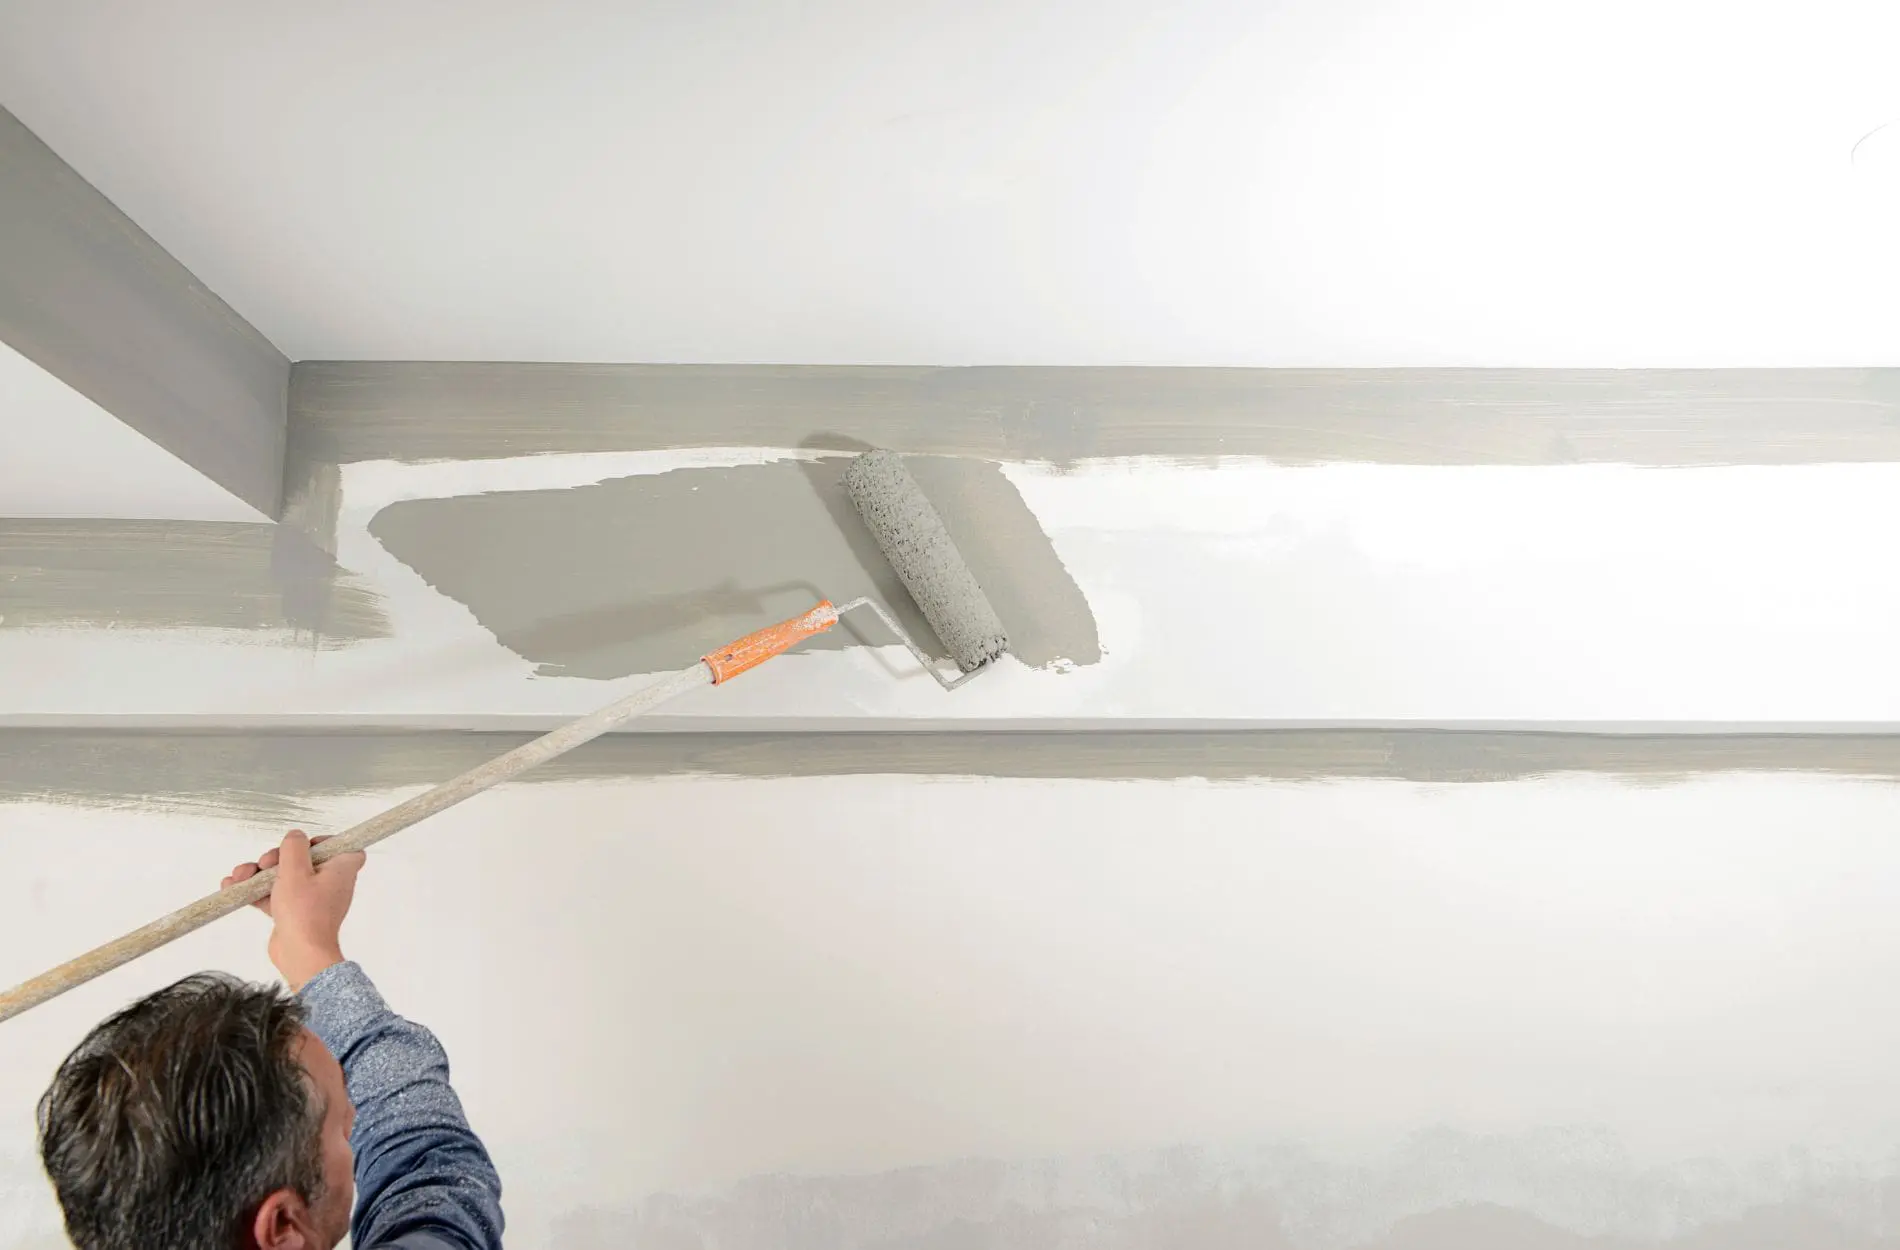
When you’re ready to roll, apply the paint in a “W” or “M” pattern across the ceiling. This approach helps distribute the paint evenly and prevents lap lines. Cover a section by moving the roller in the shape of these letters, then go back over the area to fill in gaps. Multiple, light coats usually yield better results compared to a single heavy application.
Stay patient and allow each coat to dry fully before applying another. This helps avoid wet patches and maintains an even texture. If you’re working with a high ceiling, you might also consider using an extension pole for comfort and to ensure consistent pressure while rolling.
Common Mistakes to Avoid
Ceiling painting comes with its set of challenges, and avoiding typical mishaps can save time and frustration. Overlapping paint while still wet can cause visible lines, so it’s important to plan your approach and pace yourself. Rushing the job often leads to drips and streaks, leaving a sloppy appearance.
Patchy areas or bubbles appear when paint goes over dust or the surface isn’t prepared well. Make sure you inspect the ceiling thoroughly beforehand, keeping tools like sandpaper and spackle on hand for touch-ups. Using the wrong roller can also be a pitfall; choosing one that doesn’t match your ceiling’s texture can affect the paint layer’s evenness.
Finally, patience is key. Each layer needs ample time to dry before you tackle the next. The end result will be much more satisfactory if you take the time to do it right rather than hastening through the process.
Wrapping Up: Achieving a Perfectly Painted Ceiling
Completing a ceiling paint job with precision can redefine a room’s entire ambiance, making your space more inviting and styled. Reviewing the steps—from preparation and tool selection to techniques and common pitfalls—helps ensure your ceiling achieves a clean, professional look. Painting a ceiling effectively isn’t purely about the right tools or choices; it’s about thoughtful execution and attention to detail.
While ceiling painting can indeed be tackled manually, enlisting the help of professionals can make the experience hassle-free and enhance the final result. They bring experience and expertise that guarantee an impeccable finish, effortlessly managing even the most tricky aspects of the job. A well-executed ceiling paint job not only refreshes your space but also brings a satisfying sense of accomplishment, knowing your room looks its best.
Wrap up your ceiling transformation by entrusting the task to professionals who know their craft inside and out. Damian’s Painting offers specialized services that ensure a perfect finish, no matter the ceiling’s condition. For those looking to enhance their space’s ambiance and achieve seamless results, consider the benefits of professional ceiling painting. Let skilled painters take care of the hard work, so you can enjoy a beautifully refined space without the hassle.