
Why Power Washing and Prep Before Exterior Painting Makes All the Difference
Most homeowners assume power washing is the easy part of an exterior painting project. Spray the house down, let it dry, and move on. In practice, power washing done correctly is more involved than that, and done incorrectly it either fails to prepare the surface properly or causes damage that creates new problems before the first coat of paint ever goes on. This post covers what power washing actually accomplishes, what it uncovers, what happens when it’s skipped, how pressure settings work across different surfaces, how mildew is handled, and how long a surface needs to dry before painting can safely begin.
What Power Washing Actually Does to a Surface
Power washing does more than remove visible dirt. On an exterior surface that hasn’t been cleaned in several years, there are multiple layers of contamination that interfere with paint adhesion in different ways.
The wash breaks down and removes:
- Chalk and paint oxidation, the powdery residue that forms on aging paint as the binder breaks down over time
- Biological growth including mildew, algae, and mold spores that accumulate on shaded and moisture-prone surfaces
- Loose or poorly bonded paint that would cause a new coat to peel along with it
- Embedded dirt and grime in the grain of wood or the pores of masonry that hand washing cannot reach
Without a clean, sound surface, paint cannot form a proper bond. It adheres to whatever is sitting on top of the wall rather than to the wall itself. The result is premature peeling, uneven sheen, and visible adhesion failure that can show up within one to two seasons. Power washing also evens out the surface texture in a way that hand washing cannot. The pressure agitates and removes material that wiping alone leaves behind, giving the paint a consistent surface to bond to across the entire exterior.
What Power Washing Reveals That Inspection Alone Misses
A dry visual inspection identifies obvious problems but misses what’s hiding underneath layers of dirt, mildew staining, and oxidized paint. Power washing strips away that surface layer and exposes the true condition of the wall underneath.
Common findings after a thorough wash include:
- Soft or spongy wood that wasn’t detectable during a dry inspection
- Cracks in siding or stucco that were packed with grime and appeared sealed
- Rust staining running down from fasteners or metal fixtures that wasn’t visible under the surface buildup
- Areas of paint that appeared intact but lift and peel once the surface gets wet
For homes where peeling has already become widespread, whether to repaint or replace the siding is a question worth settling before prep work begins. This is why power washing happens before the repair phase, not after. The wash defines the true scope of repairs needed. Going straight to repairs without washing first means working from an incomplete picture. Problems missed at this stage get sealed under primer and paint, and they continue developing underneath a coat that looks fine from the outside.
What Happens When Power Washing Is Skipped
Paint applied to an unwashed surface is bonding to whatever is sitting on top of the wall, not to the wall itself. The consequences are predictable and they show up quickly.
Skipping the wash leads to:
- Peeling that begins at edges and corners within the first season, where the bond between the paint and the contaminated surface is weakest
- Bubbling from moisture trapped beneath the paint film that has nowhere to escape
- Uneven sheen across the surface where paint absorbed differently over clean and dirty patches
- Mildew bleed-through as biological growth that was painted over continues to develop underneath the new coat and stains back through within a season or two. The same moisture conditions that allow mildew to grow behind paint are what cause paint bubbling on walls and ceilings — both problems trace back to surface preparation that didn’t go far enough.
Beyond appearance, skipping prep shortens the effective life of the paint job significantly. A properly prepped exterior can last 8 to 10 years under normal conditions. Paint applied over an unwashed surface may begin showing visible failure in 2 to 3 years. The prep work is not a preliminary step that can be compressed to save time. It is the foundation the entire paint job is built on.
Why Pressure Settings Vary by Surface Type
One of the most common power washing mistakes is treating every surface the same. Different exterior materials require different pressure settings, and using the wrong setting either fails to clean the surface effectively or damages the material itself.
General pressure ranges by surface type:
- Wood siding: 500 to 1,200 PSI. Too much pressure raises the wood grain, drives water into the wall cavity, or splinters softer species. Wood requires the most conservative settings of any exterior surface.
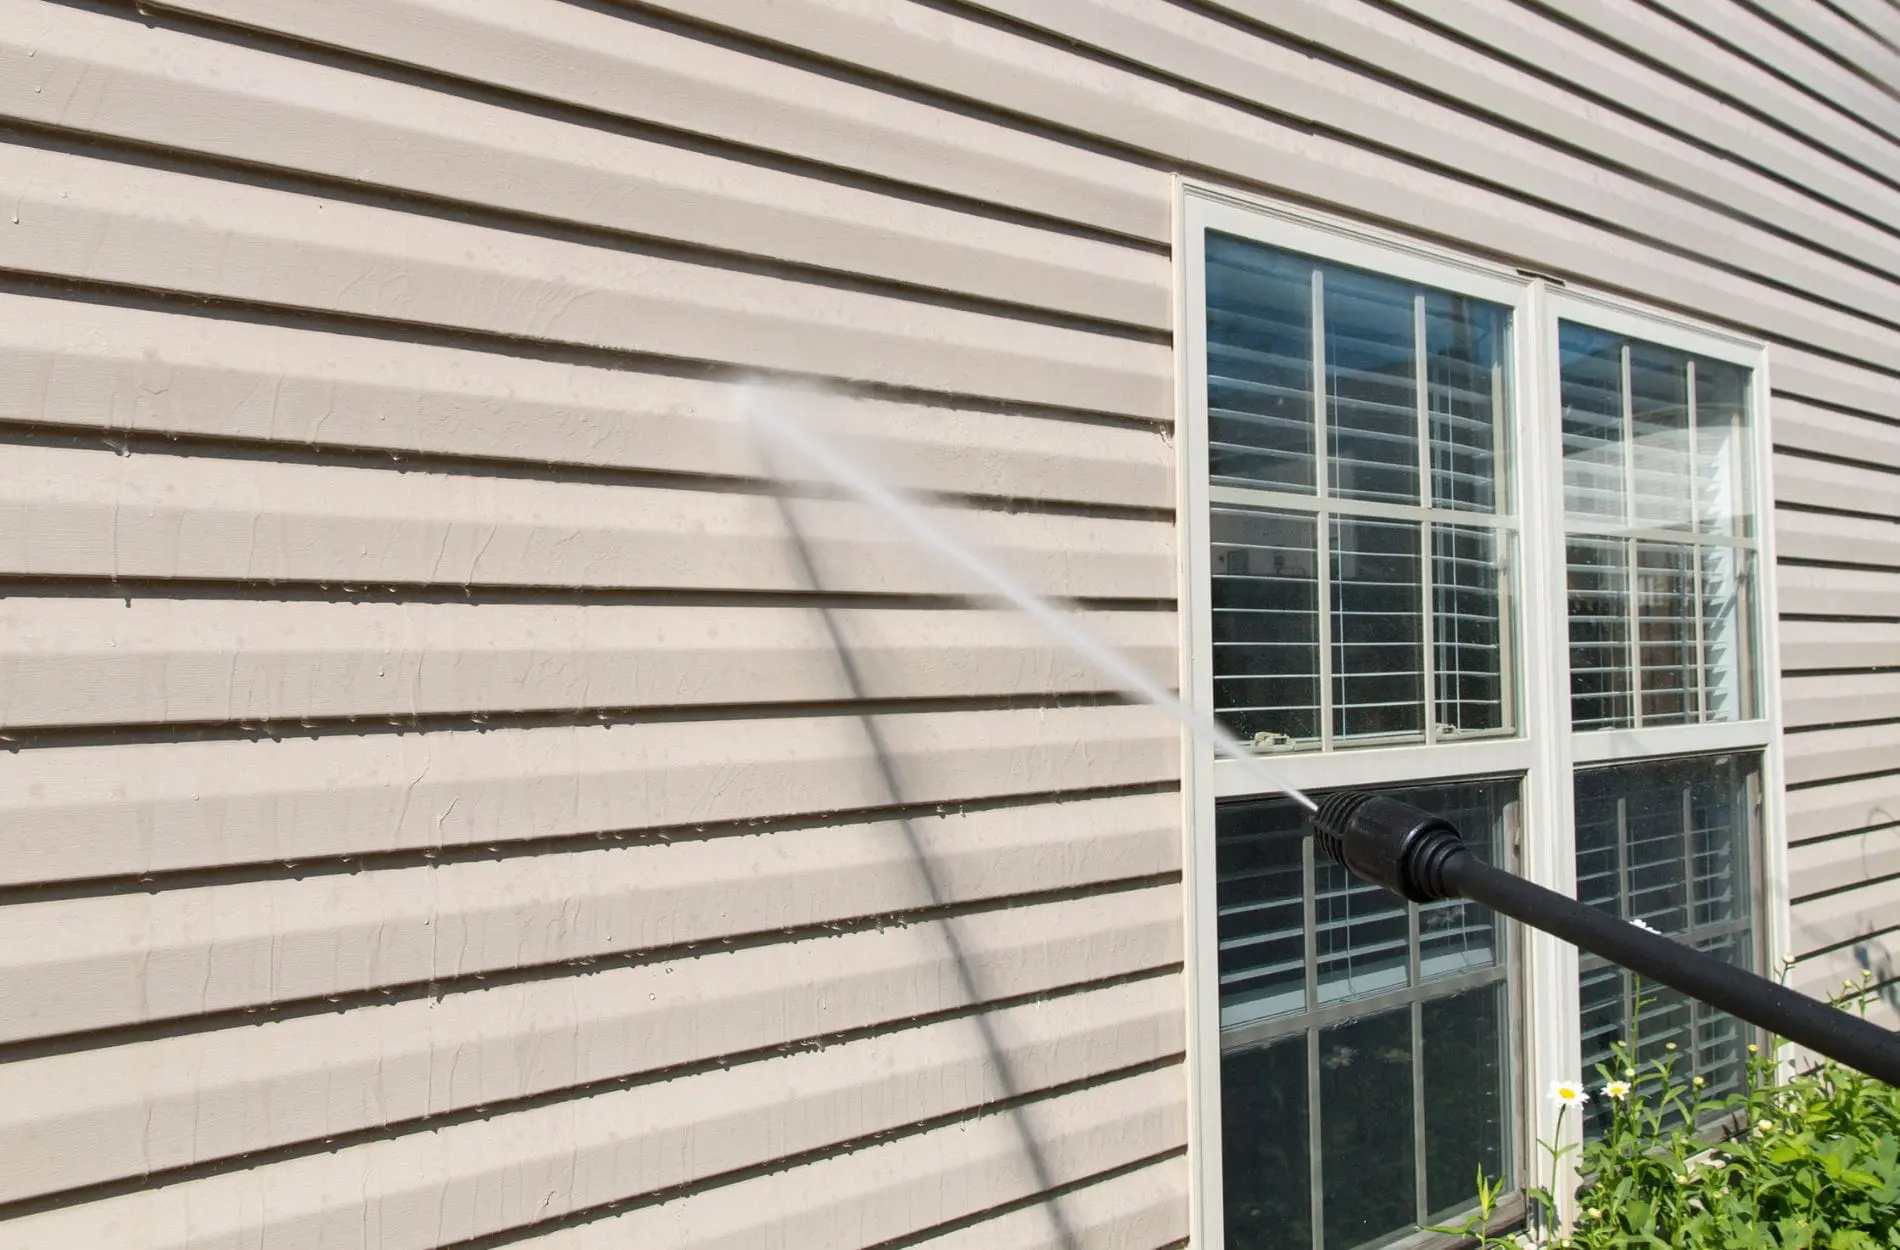
- Vinyl siding: 1,300 to 1,600 PSI. Older vinyl that has become brittle from UV exposure is particularly vulnerable to cracking or warping under high pressure.
- Brick and masonry: 1,500 to 2,500 PSI depending on the condition of the mortar joints. Deteriorating mortar requires lower settings to avoid blowing out joints that would then need repointing before painting can begin.
- Stucco: one of the most pressure-sensitive surfaces on any home. High pressure can gouge or crack the finish coat. Soft washing with lower pressure and a cleaning solution is often the more appropriate approach.
The direction of the spray matters as much as the pressure setting. Spraying upward under lap siding or directly into window frames drives water behind the wall. That kind of moisture intrusion is exactly the problem exterior painting is supposed to prevent, and introducing it during the prep phase creates issues that may not surface until weeks after the job is complete.
Why Mildew Needs to Be Treated, Not Just Rinsed
Mildew and algae are biological growth. Pressure alone does not kill them. It displaces them temporarily, and a surface that looks clean immediately after washing can have active spores that begin regrowing within weeks.
When mildew regrows under a new coat of paint, it causes staining that bleeds through the finish and creates the appearance of a failing paint job on a coat that is otherwise sound. The paint itself is not the problem. The untreated biological growth underneath it is.
The correct approach involves applying a mildewcide solution to affected areas before or during the wash, allowing it to dwell on the surface long enough to kill the growth at the root, and then rinsing thoroughly. Professionals typically use commercial mildew cleaners or diluted bleach solutions formulated for exterior surfaces, selecting the product based on the severity of the growth and the material being treated.
In the Schaumburg area, the surfaces most consistently affected by mildew are:
- North-facing walls that receive little direct sun
- Shaded areas beneath overhanging trees or roof lines
- Surfaces near gutters, downspouts, and areas where water regularly pools or runs
These areas should always receive mildewcide treatment during the wash regardless of whether visible growth is present. Active mildew is not always visible to the eye, particularly in its early stages.
How Long the Surface Needs to Dry Before Painting Begins
Water trapped in wood or masonry beneath a coat of paint is one of the most common causes of early paint failure. Moisture has to go somewhere, and if the surface has been sealed before the substrate has fully dried, it pushes up through the paint film as bubbles or blisters.
The minimum drying window after power washing is typically 24 to 48 hours, but that range assumes favorable conditions: warm temperatures, low humidity, and good sun exposure on the walls being painted. In the Chicago area, spring and fall painting seasons regularly bring cooler temperatures and higher humidity that extend the time needed.
A few surface-specific considerations:
- Wood siding dries relatively quickly under favorable conditions but can hold moisture in denser grain patterns longer than it appears
- Brick and stucco are more porous and absorb more water during the wash — these materials often need 48 to 72 hours before painting can begin safely
- A wall that feels dry to the touch at the surface may still hold moisture deeper in the substrate, particularly after a heavy wash or in cooler conditions
Painting before the surface is fully dry does not just risk visible bubbling. It reduces paint adhesion across the entire surface, even in areas that show no immediate problems. The result is a paint job that looks fine at first but underperforms over its expected lifespan.
Getting the Prep Right in Schaumburg
Power washing is not a simple rinse. The pressure settings, mildew treatment, spray technique, and drying window all affect whether the paint job that follows performs the way it should. Corners cut during the wash show up as problems in the finished coat, and those problems are almost always more expensive to address after the fact than they would have been to prevent during prep.
Damian’s Painting handles power washing and full exterior prep for homeowners across Schaumburg and the surrounding area. If you are ready to move forward with an exterior paint job or want to understand what proper preparation involves for your home, contact us for a free estimate.