Common Interior Painting Mistakes and How to Avoid Them
Painting the interior of your home can transform your space, creating a fresh and invigorating atmosphere. However, achieving that picture-perfect finish is not always an easy task. Even the smallest mistakes can lead to frustrating results, adding time and expense to your project. Whether you’re refreshing a living room in Schaumburg or repainting an entire home, knowing what to avoid is just as important as knowing what to do.
Many homeowners dive into painting with optimism, only to face common pitfalls that turn their dream makeover into a nightmare. From skipping critical prep work to choosing the wrong paint, these blunders can compromise the look and longevity of your paint job. Understanding where interior paint jobs go wrong — and why — is what separates a result that holds up for years from one that needs attention again within a season.
Skipping Surface Preparation
The excitement of a new color can make it tempting to start painting right away. However, neglecting proper surface preparation often leads to disappointing outcomes. Prepping your walls ensures the paint adheres well and looks smooth, preventing premature peeling or flaking.
Why is surface preparation so important? A clean and well-prepared surface helps the paint bond effectively, providing a better finish and prolonging the life of your new paint job. Without proper prep, even the highest quality paint may not adhere properly, leading to uneven textures and visible flaws.
Proper prep involves three steps that work together. The surface needs to be cleaned to remove dust, grease, and any residue that would prevent adhesion. Rough spots and imperfections need to be sanded smooth so the finish coat applies evenly. And primer needs to go on before the topcoat — especially when switching from a dark to a light color, painting over stained areas, or working on bare drywall. Skipping any one of these steps creates the conditions for the other mistakes on this list to follow. The same prep sequence that applies to interior walls applies on a larger scale to exterior painting preparation, where skipping any step has equally predictable consequences.
By dedicating time to these preparatory steps, you set the foundation for a successful painting experience, saving time and effort in the long run.
Choosing the Wrong Paint
Selecting the right paint can feel overwhelming with so many options available. Factors like finish, durability, and color type play crucial roles in your painting project’s success. Choosing the wrong paint can result in a finish that doesn’t meet your needs or expectations, leading to unnecessary frustration.
One common mistake is selecting an inappropriate finish for the room’s purpose. For example, using a matte finish in a high-traffic hallway might not withstand the wear and tear of daily life. It’s key to match the paint to the room’s function and desired look.
The room’s function should drive finish selection. Bathrooms and kitchens need a harder, more washable finish — semi-gloss or gloss — that holds up to moisture and cleaning. Living areas and bedrooms can use satin or eggshell, which are more forgiving on imperfect walls while still being cleanable. Flat finishes belong on ceilings, not on walls that see any regular contact. Using a flat finish in a hallway or kitchen because it hides surface texture well is a tradeoff that shows up quickly as a maintenance problem.
By understanding what each type of paint offers, you can make an informed choice that enhances your living space rather than detracting from it.
Ignoring Proper Techniques
Proper painting techniques are just as vital as the paint itself. Even a minor error can create glaring imperfections once the paint dries, and understanding common application mistakes is crucial in preventing them.
Many people experience issues like over-brushing, which can leave visible streaks on the walls. Alternatively, not using painter’s tape can result in messy edges. Ensuring a neat and polished finish requires practice and attention to detail.
Clean edges at trim and ceiling lines require either precise taping or careful cutting in by hand — usually both. Tape that isn’t pressed firmly allows paint to bleed underneath and produces a ragged edge that’s difficult to correct after the fact. Over-brushing wet paint — going back over an area that’s already been worked — leaves visible brush marks in the dried surface. Each section should be completed before moving to the next rather than blending back into areas that have started to dry. And applying too much paint at once, trying to get full coverage in a single thick coat, causes sagging and uneven sheen that flattens out the whole finish.
By focusing on these basic techniques, you can achieve a professional-looking finish that enhances the beauty and value of your home.
Rushing the Drying Process
Hurrying through the drying process can mar the whole painting effort. Patience is key when it comes to allowing paint to dry properly. If you rush and apply a second coat before the first one is fully dry, it can result in unsightly streaks or even peel off the first coat.
Allowing adequate drying time between coats is essential for a smooth and even finish. Many factors, such as humidity and temperature, can affect drying times. It’s always a good idea to refer to the paint can’s instructions for guidance.
High humidity extends dry time significantly and affects how the paint cures, not just how fast it dries to the touch. A paint that feels dry on the surface may still be soft and vulnerable underneath. In the Schaumburg area, where spring and fall bring variable humidity, interior painting projects benefit from checking conditions before starting a second coat rather than following a fixed time interval. Adequate airflow in the room helps — open windows when conditions allow, but avoid direct drafts that carry dust onto wet surfaces.
Practicing patience during the drying process leads to a much better outcome, ensuring the finish is durable and visually flawless.
Neglecting Cleanup and Maintenance
Once the painting is complete, the job isn’t truly finished without proper cleanup and ongoing maintenance. Neglecting these steps can diminish the longevity and look of your fresh paint job.
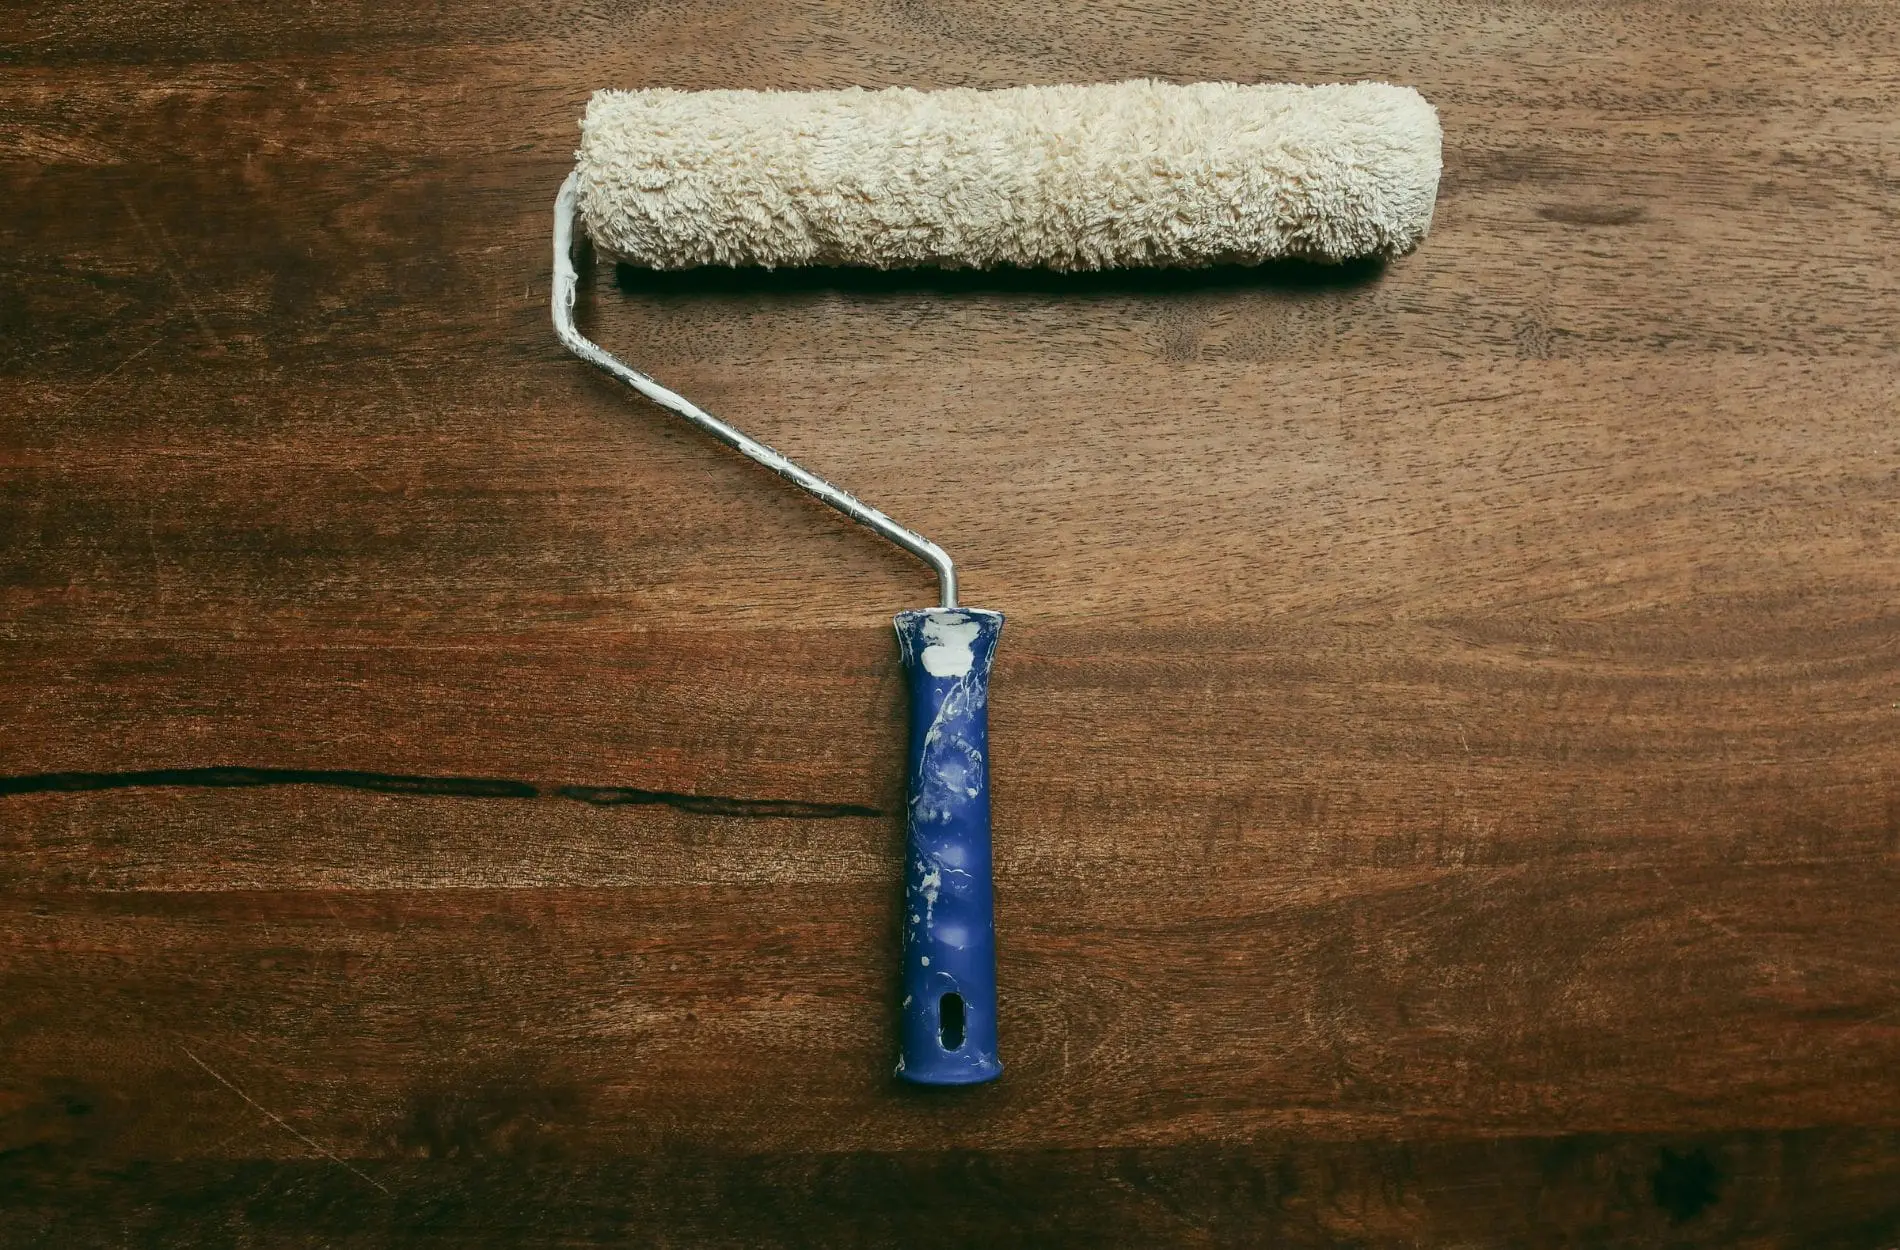
Brushes, rollers, and other tools cleaned and stored properly after the job hold up through future projects. Dried paint in a roller or brush produces an uneven application the next time it’s used
Here are some cleanup and maintenance tips:
- Store Paint Properly: Seal any leftover paint in airtight containers, storing them in a cool, dry place to maintain its quality.
- Touch-Up: Keep a small amount of leftover paint for future touch-ups.
- Regular Cleaning: Dust or wipe your walls with a damp cloth occasionally to keep them looking fresh.
- Spot Repairs: Promptly address any chips or scratches as they occur.
By handling the cleanup phase with care and continuing regular maintenance, you will preserve the beauty of your painted surfaces for years to come.
Ready to Avoid These Mistakes on Your Next Interior Project in Schaumburg?
Completing an interior painting project successfully requires attention at every step, from preparation through to maintenance. By avoiding common errors, you can save yourself from costly and time-consuming setbacks, ensuring that your space looks just as you imagined.
Interior painting done right takes attention at every stage — preparation, product selection, application, and drying time. Each step affects the one that follows. When any part of the process is rushed or skipped, the result shows up in the finished walls sooner or later.
Damian’s Painting works with homeowners across Schaumburg and the surrounding area on interior painting projects. If you want a result that holds up and looks right from the start, contact us for a free estimate.