

Get Your Home Spring-Ready with Full Exterior Painting
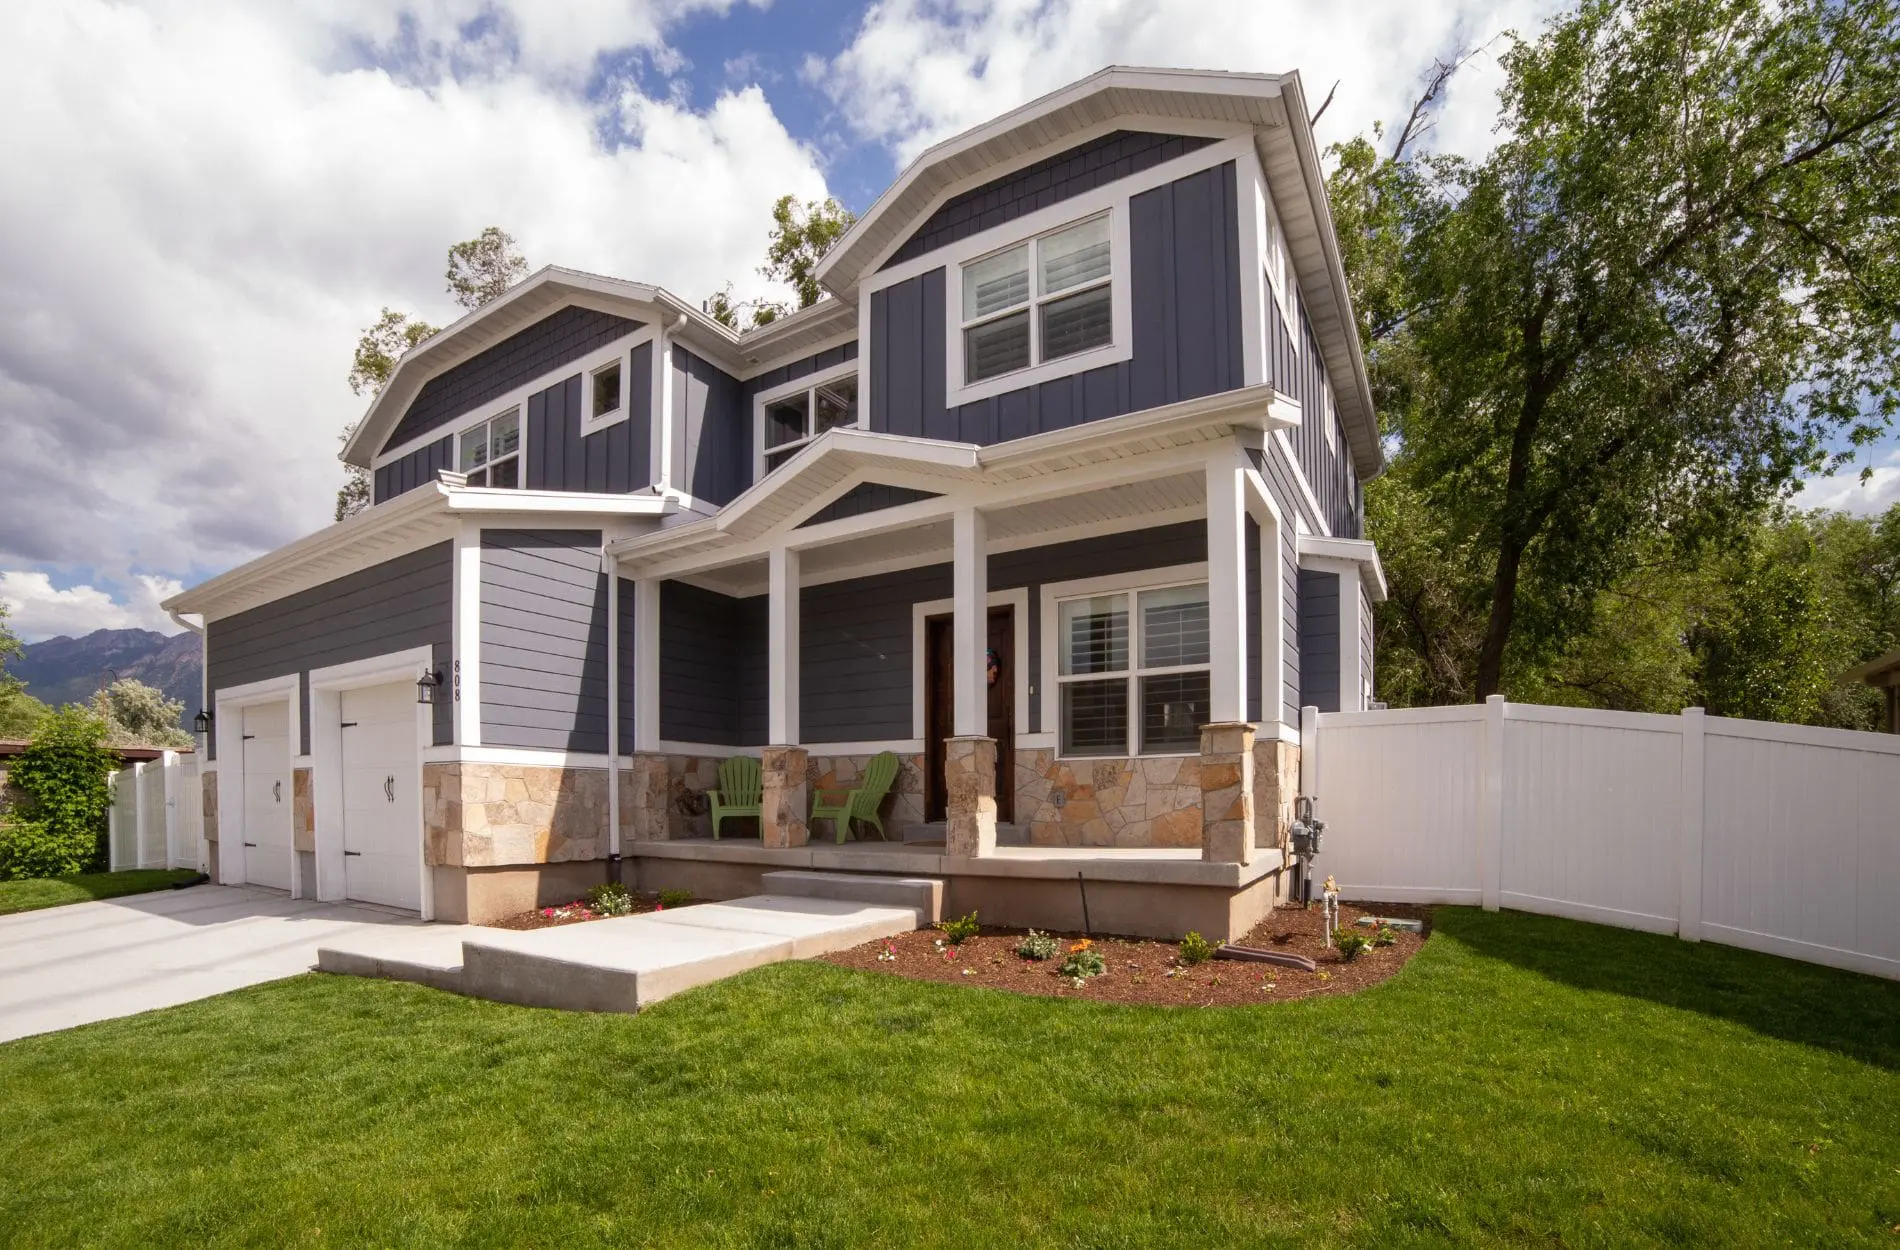
Spring is when most homeowners in the Schaumburg area start thinking seriously about exterior painting. The weather is turning, the house has just come through another Midwest winter, and the worn or faded paint that was easy to ignore in January is suddenly hard to miss. Getting ahead of that project takes more than picking a color and calling a contractor. Homes that get the best results from a spring paint job are the ones where the homeowner has inspected the surface, addressed any issues from winter, and scheduled early before peak season fills up. This post walks through what that preparation actually looks like.
Why Spring Is the Right Time to Schedule Exterior Painting
Spring offers a reliable painting window that the rest of the year doesn’t always provide. Temperatures in the Schaumburg area stabilize enough to meet the application minimums most exterior paints require, typically between 50°F and 85°F, and the stretch of dry days needed for proper curing becomes more predictable than it is in fall or early summer.
There’s also a practical scheduling reason to move early. Exterior painting contractors in the Chicago suburbs book up quickly once spring arrives and homeowners start calling. A project that could be scheduled in April with reasonable flexibility may face a 6 to 8 week wait if the call comes in late May. Getting on a contractor’s calendar early means more control over timing and a better chance of hitting the ideal weather window before summer heat arrives.
Painting after winter also makes strategic sense. The freeze-thaw cycle that Schaumburg winters bring puts significant stress on painted surfaces. The specific ways that Schaumburg’s spring weather conditions affect paint adhesion, drying time, and curing are covered in detail in how spring weather affects exterior house painting, which is worth understanding before scheduling a project.
Caulk shrinks and separates, wood expands and contracts, and paint film that was already aging takes additional hits from ice and moisture. Spring is the natural time to assess that damage and address it before another season of UV exposure begins.
Start with a Post-Winter Inspection
Before any prep work or painting decisions are made, the exterior needs to be walked and assessed. Winter often reveals or accelerates problems that weren’t visible in the fall, and knowing the full scope of what needs attention shapes every other decision in the project.
What to look for during a spring exterior inspection:
- Peeling, flaking, or bubbling paint, particularly on south and west-facing walls that took the most UV exposure last summer and the most freeze-thaw stress over winter
- Cracked or separated caulk at window frames, door frames, trim-to-siding transitions, and anywhere two different materials meet
- Soft or spongy wood on fascia boards, window sills, and any horizontal wood surfaces that hold moisture — these need to be probed with a screwdriver to assess depth
- Mold or mildew staining on north-facing walls and shaded areas that received limited sun through the winter
- Rust staining running down from metal fasteners, flashing, or fixtures
- Cracks in stucco or siding that may have widened through freeze-thaw movement
Higher areas including soffits, fascia, and the underside of roof overhangs are the most commonly overlooked. These surfaces are harder to see from the ground and are often where the most significant moisture damage accumulates.
What Needs to Be Addressed Before Painting Begins
Paint is a finish. It protects and seals a surface, but it doesn’t fix what’s wrong with one. Any damage identified during the inspection needs to be repaired before the first coat of primer goes on. Painting over unresolved problems seals them in and allows them to continue developing underneath a coat that looks fine from the outside.
Common pre-painting repairs for a spring project:
- Caulk replacement: remove old caulk completely wherever it has shrunk, cracked, or separated. Applying new caulk over failing caulk creates a temporary seal that fails again quickly. Use an exterior-grade paintable caulk rated for the materials being joined.
- Wood rot repair: soft or spongy areas need to be cut out and replaced with new wood or filled with an exterior-grade epoxy filler. Painting over rot does not stop it from spreading.
- Siding and stucco cracks: fill with an exterior patching compound appropriate for the material. Allow full cure time before priming — rushing this step is one of the most common causes of early paint failure on repaired areas.
- Fascia and soffit damage: these surfaces take more moisture exposure than any other part of the exterior and often need attention after a hard winter. Damaged sections should be replaced rather than patched where the wood has deteriorated significantly.
The full sequence of prep steps that happen before any paint goes on, including power washing, scraping, and priming, is covered in the exterior painting preparation checklist that applies to any exterior project.
Addressing repairs before the painting crew arrives keeps the project on schedule and prevents cost surprises. A contractor who discovers significant rot or caulk failure mid-project has to pause, source materials, and extend the timeline in ways that are more disruptive than if those issues had been identified and resolved in advance.
Choosing Your Color and Finish Before the Project Starts
Color and finish decisions made the week the project starts slow everything down. Having those choices confirmed before the contractor is scheduled keeps the project moving without delays.
A few considerations that make the color decision easier:
- Work with the fixed elements first. Roof color, brick, stone, and any trim that isn’t being painted are all constraints that the siding color needs to work with. A color that looks right in isolation can read differently next to an existing undertone in the brick or a warm-toned roof.
- Exterior paint looks different in direct sun than in shade, and different again on a cloudy Midwest day. Testing a color sample on the actual surface in different light conditions before committing is a step most homeowners skip and later wish they hadn’t.
- Finish selection affects durability as much as appearance. Satin finishes are the most common choice for exterior siding because they offer a balance of sheen and durability. Semi-gloss is standard for trim and doors where a harder, more cleanable surface is appropriate. Flat finishes are used on stucco and masonry where hiding surface texture is the priority.
- Two-tone combinations, with a distinct color for the body and a contrasting trim color, add visual definition to the exterior and are worth considering if the current single-color approach has made the home look flat or undifferentiated.
If there’s uncertainty about color selection, many exterior painting contractors offer color consultation as part of the estimate process. Getting that input before scheduling saves rounds of back-and-forth once the project is underway.
What to Expect from the Scheduling and Prep Process
Understanding what the project involves from the contractor’s side helps homeowners prepare their property and set realistic expectations for timeline and access.
A typical spring exterior painting project in Schaumburg follows this sequence:
- Estimate and color confirmation: the contractor assesses the surfaces, notes any repairs needed, confirms color and finish selections, and provides a written estimate with a projected timeline
- Surface preparation: power washing, scraping, sanding, caulking, and priming happen before any finish paint goes on — this phase typically takes one to two days depending on the size of the home and the extent of repairs needed
- Finish coat application: one to two finish coats applied in sections, with adequate dry time between coats based on temperature and humidity conditions
- Cleanup and walkthrough: drop cloths removed, masking taken down, a final walkthrough to address any touch-ups before the project is closed out
Homeowners can help the process move smoothly by trimming back landscaping and shrubs that are close to the house, moving patio furniture and vehicles away from the work area, and making sure the contractor has clear access to all sides of the home. These small preparations reduce delays on the first day and keep the crew working efficiently through the project.
Ready to Schedule Your Spring Exterior Painting Project in Schaumburg?
Getting a spring exterior paint job right starts well before the painting crew arrives. A thorough post-winter inspection, repairs addressed early, and color decisions confirmed in advance are what separate a project that runs smoothly from one that stalls mid-way through. And scheduling early is what determines whether the project happens in the ideal spring window or gets pushed into summer.
Damian’s Painting works with homeowners across Schaumburg and the surrounding area on full exterior painting projects. If you’re ready to get your home spring-ready or want to understand what the project would involve for your specific exterior, contact us for a free estimate.